Skip to content
Home
Recipes
My Zoo and Aquarium Bucket List
Slow Cooker
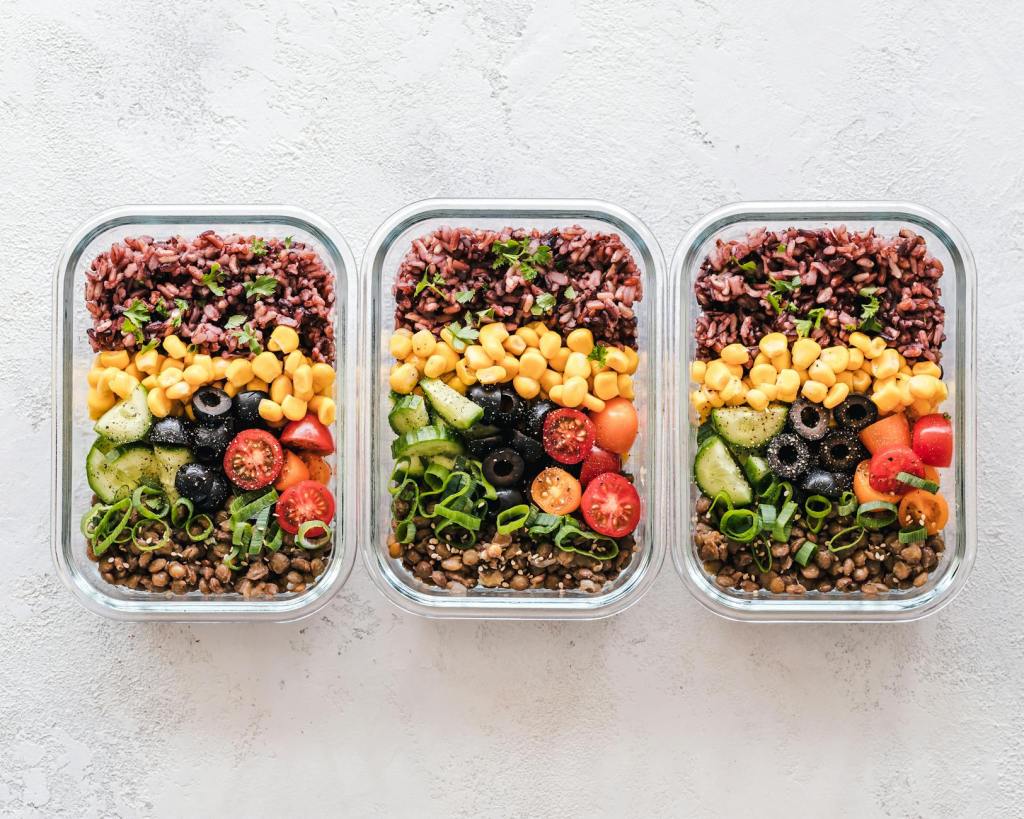
Meal Prep
Family Favorites
Menu Plans
Search
Search
Believe in the Magic Traci Diary
Tag:
recipes
“Baked” Apples
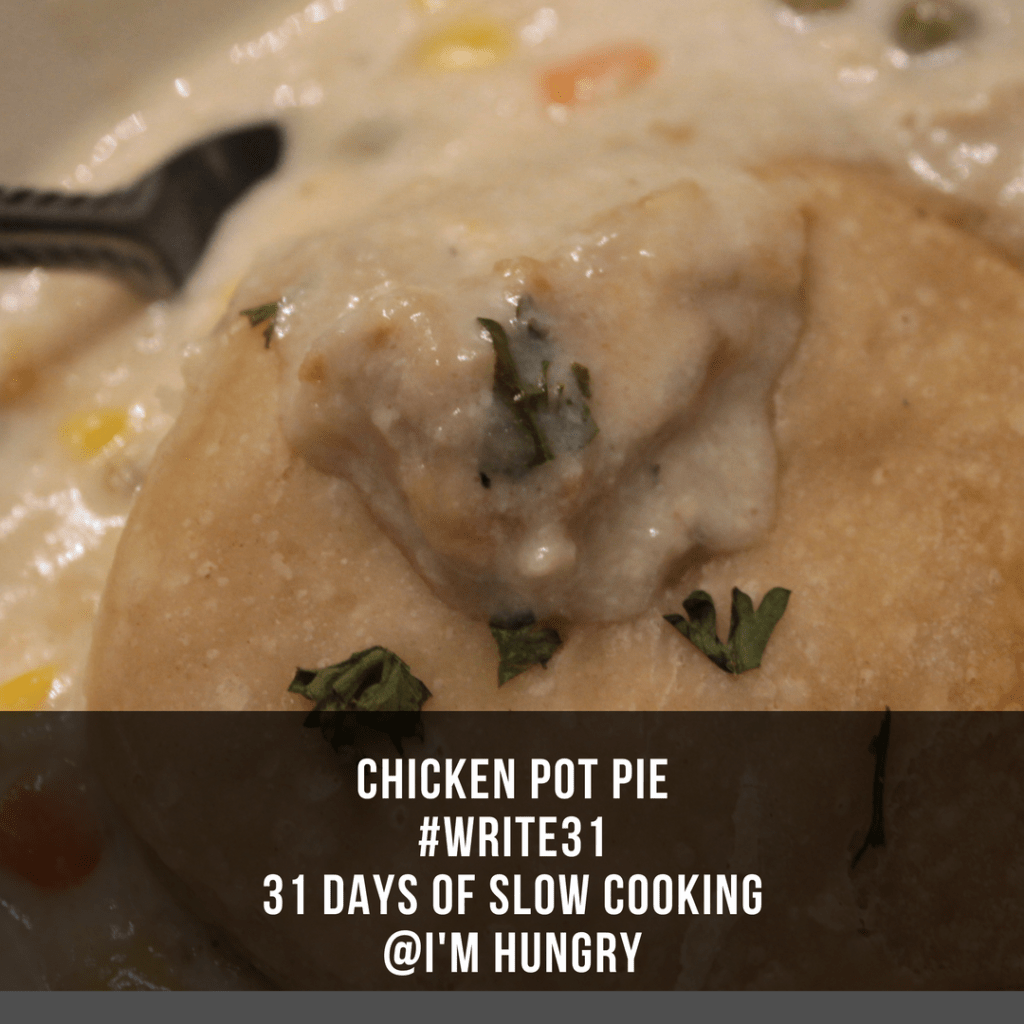
Chicken Pot Pie Updated
Burger Skillet
Breakfast Ideas – Back to School 2025
Honey Garlic Chicken (Meal Prep and Air Fryer)
Top Posts of June
Menu Plan Sunday | June 29, 2025
May’s Best Recipes and Travel Posts
Protein Coffee
Meal Prep Menu #2
Next Page